

Wednesday, September 21, 2016
Monday, September 19, 2016
Playing with Lightroom Presets
While processing photos for last Thursday's Photo Challenge post I decided to try out various presets on a silhouette photo I had taken. For this experiment the only processing was to apply the various filters. The only other changes made were to reduce the size of the image and add my logo. Here are the results.
 |
| Original Image |
This first set were processed using filters that come standard in Lightroom 4.
The preset name is under each photo.
 |
| Blue filter |
 |
| B/W Contrast Low |
 |
| Cross Process 2 |
 |
| B/W Look 5 |
 |
| Antique |
 |
| Split Tone 2 |
Now for a few processed using Lightroom presets from the free presets offered by Hackingphotography.com.
 |
| HP_Angelic_High_Key |
 |
| HP_Orange_Light_Correction |
 |
| HP_Tales_from_the_Sidewalk |
I am really having a difficult time deciding which I like best. Of the standard presets it is between the B/W Contrast Low and the Split Tone 2, although I do like the Cross Process 2 as well. As for the Hacking photography presets that is much easier, my favorite there is the HP_Orange_Light_Correction. Although I do not like the halo affect that appears on all of the HP presets, I am sure if I had tweaked a few things I could have corrected that but I wanted to show how the image would look with only applying the preset.
What do you think?
Sunday, September 18, 2016
South Dakota Sunday: Waterfowl Stroll
Geese and ducks are a very common sight in South Dakota, so it is no surprise that one often comes across these beautiful creatures out for a leisurely stroll. This group is enjoying a quiet afternoon at The Redlin Art Center in Watertown South Dakota.


I posted more photos of this location and about The Redlin Art Center on Artistic Composition for my Sunday In My City blog post. To check it out just click here.
Friday, September 16, 2016
What's Better Than A Full Moon?
A full moon with partial cloud cover!

Not too bad for a shot taken with my cell phone.
Sharing with Friday Skywatch
Thursday, September 15, 2016
The Challenge: Texture and Silhouette
This week I am covering the fourth challenge which I accidentally skipped, and the seventh challenge of the 30 photo challenges. To make these challenges even more difficult it was pouring rain when I had the time to pull out my camera and work on the challenges. I grabbed my camera and headed to take my youngest daughter to work hoping I would think of somewhere that would have interesting subjects for the challenges. With the gloomy skies and all the ran I thought I was going to have to just head back home and set up my lights and find a subject there. Then I saw that the parking lot lights were on and shining really bright. After a few minutes of looking around the car for something interesting to shoot, this is what I came up with.
4th Challenge: Texture
I parked with the light about 50 feet in front of my car and hung my necklace from the sun visor. I took this shot and then remembered that I had the white balance set for tungsten lighting so I changed it, but decided I really like the blue cast of this photo much better than the other photo. I did boost things like clarity and tweaked tones a bit to enhance the texture aspect. Side note: The red spot in this photo is a passing cars tail light reflected in the raindrops on the windshield.

7th Challenge: Silhouette
Same necklace, just a different section. Once again I shot with white balance set for tungsten. The only post processing I did with this photo was a slight crop to remove a thin line of the visor which could be seen at the top of the photo and to boost clarity by a little.

I do believe that the poor weather actually did me a favor, because it made me get more creative with both the subject matter and how to meet the challenge under less than ideal circumstances. Side note: The moon like white spot in this photo is actually the light reflecting in a raindrop.
In addition to these photos of my necklace I also took some silhouette shots of the two action figures that my friend has sitting on the dash of her car, which I was driving. I often shoot texture shots but seldom shoot for a silhouette, so this was a lot of fun in that aspect too. How about you, do you look for and take texture or silhouette shots?
In addition to these photos of my necklace I also took some silhouette shots of the two action figures that my friend has sitting on the dash of her car, which I was driving. I often shoot texture shots but seldom shoot for a silhouette, so this was a lot of fun in that aspect too. How about you, do you look for and take texture or silhouette shots?
Sharing with:
Wednesday, September 14, 2016

Tuesday, September 13, 2016
Controlling Exposure with Shutter Speed
All three photos were taken at ISO 400 with an aperture of F8. Normally I would use F11 or higher for a scenic shot, but I a bit of a hurry and forgot to change it.
 |
| exposure time 1/50 sec |
 |
| exposure time 1/100 sec |
 |
| exposure time 1/320 sec |
The first and second shots are over exposed as it was darker, but not as dark as the last shot which is slightly under exposed. I wanted both the detail in the fields and the dark cloud formation with the bright orange sunset to show in the photo. I will eventually edit the photo so that it is closer to what I saw on that day.
I often take multiple shots at different shutter speeds, do you?
Sunday, September 11, 2016
South Dakota Sunday: Palisades
Palisades State Park
Today I am pulling form my archive for South Dakota Sunday. These photos were taken at Palisades State Park in September of 2011. The park is only about a half hour drive from Sioux Falls, SD.


Friday, September 9, 2016
Two for One
For this weeks Weekend Reflection and Friday Skywatch photo I have decided to share this photo of the sun and late afternoon sky reflecting in the windows of this great old building. The photo was taken at the beginning of the summer, while we were doing this.

Sharing with:
and
Thursday, September 8, 2016
The Challenge: High Angle and Low Angle
Oops, I skipped challenge number four. The fourth challenge is Texture, I guess I will have to get cover that next week. But here are the challenges I did this week.
5th challenge: High Angle
Playing with angle is something I love to do, so this was a fun challenge that I incorporated to the portrait session I had this last weekend. Unfortunately I could not convince little "T" to look up. He was much more interested in the bars and mulch.


I had much better luck with the low angle shots.
6th Challenge: Low Angle


Tuesday, September 6, 2016

Monday, September 5, 2016
Sneak Peek: CC & T
Last year I had the privilege of doing this little guys newborn photos the month before we moved back to Sioux Falls from Rapid City, South Dakota. So I was very excited to find out that I would have the chance to do portraits for him and his mom again. CC let me know they would be in Sioux Falls this weekend so we arranged a time to do Little T's One Year portraits.


Because he is an active one year old she opted for outdoor photos. So in addition to these photos there are a good amount of fun photos that capture his energy.


Because he is an active one year old she opted for outdoor photos. So in addition to these photos there are a good amount of fun photos that capture his energy.
Saturday, September 3, 2016
South Dakota Sunday: Roadside Chapel

I am not a religious person, but I can never resist stopping when I come across a Roadside Chapel. Little chapels like this one are scattered all across the state. Some at rest areas on major highways and some on small county roads. This tiny chapel is located on two lane US Hwy 212 between Watertown, SD and Henry, SD.
Friday, September 2, 2016
On The Prairie
A glimpse of the beauty seen on the prairie.

Scattered across the prairie are hundreds, no thousands of small ponds and lakes teaming with wildlife, offering a soothing atmosphere and providing great reflections.

But my all time favorite sight on the prairie is the breathtaking skies! A vivid blue that seemingly stretches into eternity, often gloriously interspersed with brilliant billowy clouds. More photos and information about the location of these two photos can be seen in this post.
Sharing with:
and
Thursday, September 1, 2016
The Challenge: Rule of Thirds and B&W
2nd challenge: Rule of Thirds

In the above image the chain sits on the lower horizontal line with the main link at the junction of the left horizontal/vertical lines. Lake and tree line sit between the upper and lower horizontal lines. Skyline predominately above the top horizontal line, with one tree top at the junction of the upper right horizontal/vertical lines.

Here the rule of thirds is applied only to the chain, with the chain sitting on the lower vertical line and the primary link at the junction of the bottom left horizontal/vertical line.

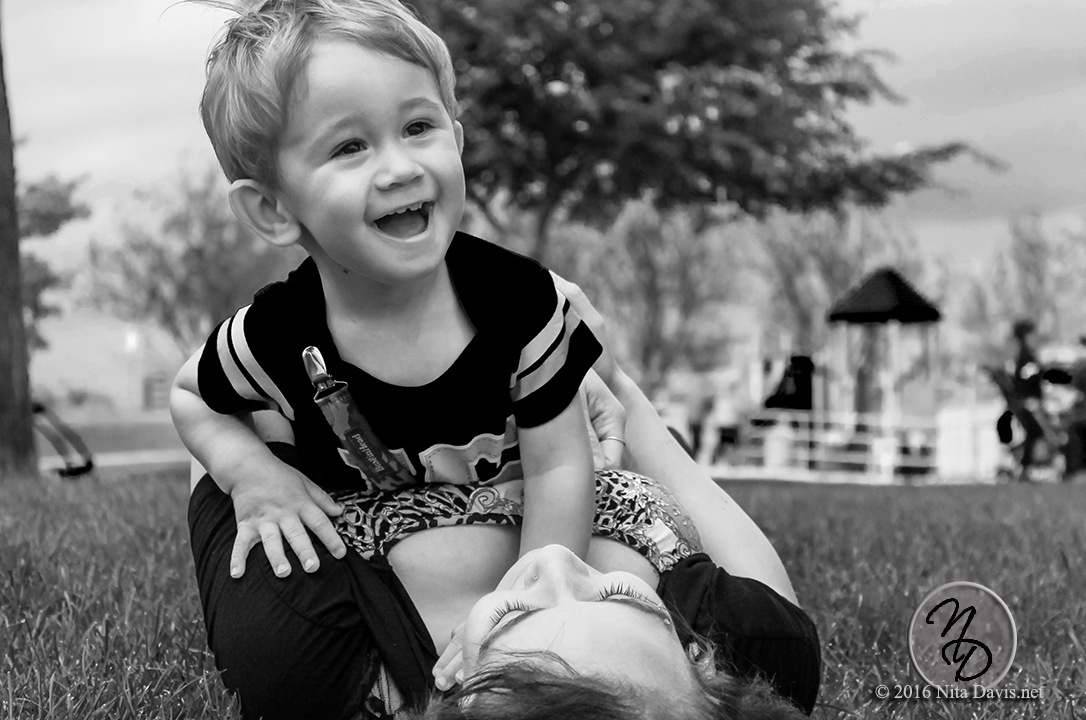
For this photo instead of applying the rule of thirds by having lines intersect at a focal point, I placed the subject almost entirely on the left vertical line. Lining the shot up so that the line would pass through the center of the top of the boy and so the bottom link of the chain would also touch the line. I contemplated changing my position to have the line go directly through his arm and the chain, as well as intersecting at his had, however at that angle less of his face would have been visible. I could have cropped the photo to place the junction of the upper vertical and left horizontal line at his hand instead of slightly right of his hand as it is here but I preferred this composition.
3rd challenge: Black & White


For this Black and White conversion, after making a number of tweaks in Lightroom I applied the HP_BW_Drastic preset I downloaded for free from Hacking Photography (HP). The tweaks were minor enhancements that did not make the photo look over processed and I really like the final results.

With both the above and below photos the images were first processed in color with adjustments in Lightroom to render vibrant photographs. For the above photo I applied the HP B&W_Hard preset, slightly adjusted the tones then applied a vignette. For the bottom photo I used the stock Lightroom B&W Contrast High preset, then tweaked the tones a bit.
 |
| Click here to see the color version |
Although these images were not shot with the challenge in mind, the challenge has played a major part in how I processed the images. Later I will revisit these challenges and take some photos specifically for the challenges. Who knows, maybe that will make a difference in my view of the B&W conversion suggestion to over process the photo.
In the past I have performed image enhancement and B&W conversions in Photoshop, but since I am trying to improve my Lightroom skills these photos were all processed in Lightroom. What program do you prefer for digital photo processing?
Subscribe to:
Comments (Atom)